Working with one tortilla at a time, spread about 2 tablespoons of your creamy cheese mixture in the center, leaving a 2-inch border around the edges.
Top with approximately ⅙ of your chicken-vegetable mixture, distributing it evenly.
Sprinkle a generous tablespoon of the reserved dry cheese over the filling.
Fold the bottom edge of the tortilla up over the filling, then fold in both sides, and continue rolling upward to create a secure package. The butter-garlic side should remain on the outside.
Press gently to seal the wrap, then set aside seam-side down while you prepare the remaining wraps.
6. Achieve the Perfect Crispy Exterior
Heat a clean, dry skillet over medium heat—no additional oil needed as the butter coating will prevent sticking.
Place your assembled wraps seam-side down in the pan, working in batches to avoid crowding.
Cook for 2-3 minutes until the bottom develops a golden-brown crust, then carefully flip.
Cook for another 2 minutes on the second side until crispy and the cheese inside has begun to melt.
For an even more melty interior, cover the pan with a lid during the last minute of cooking.
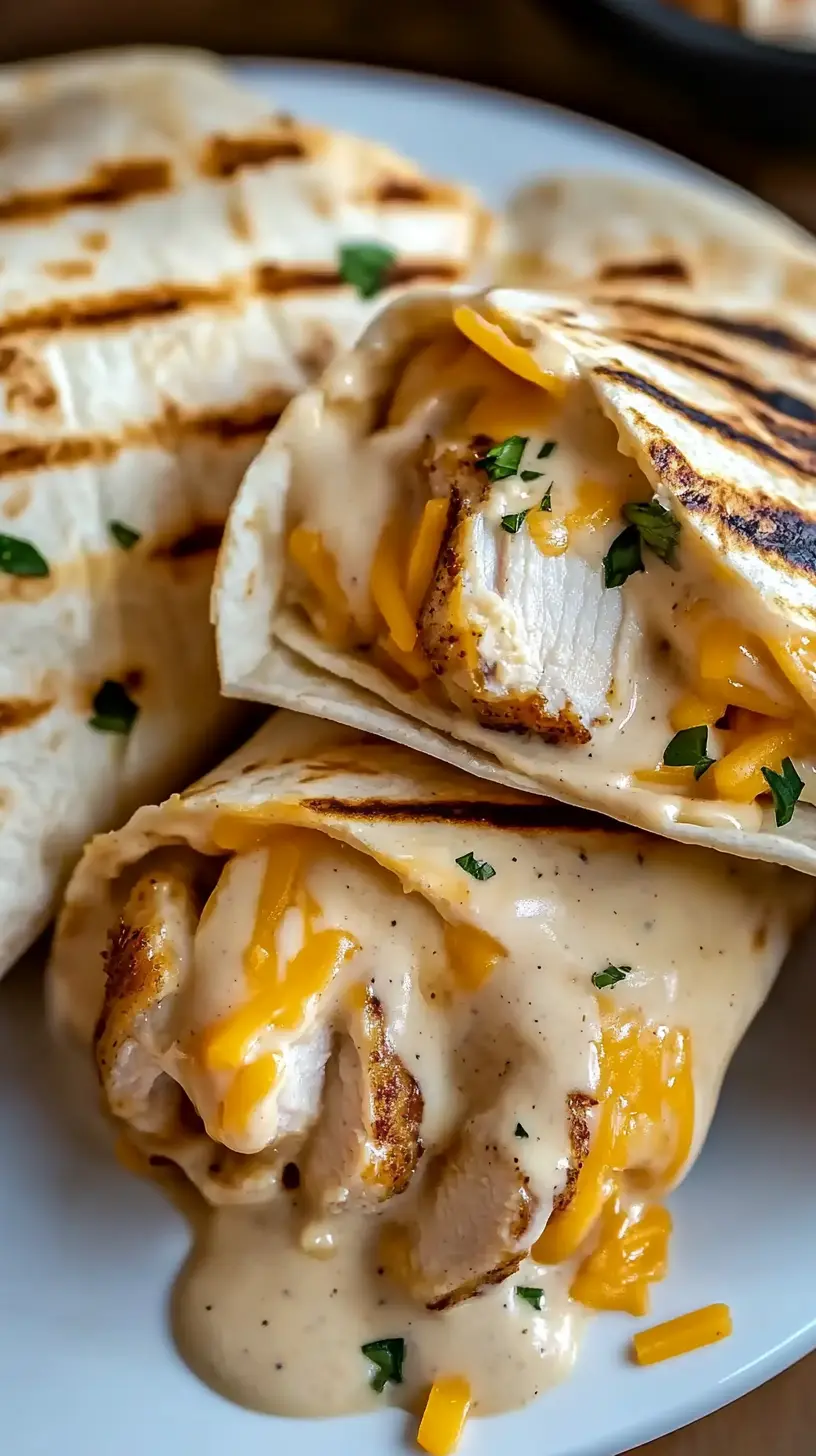
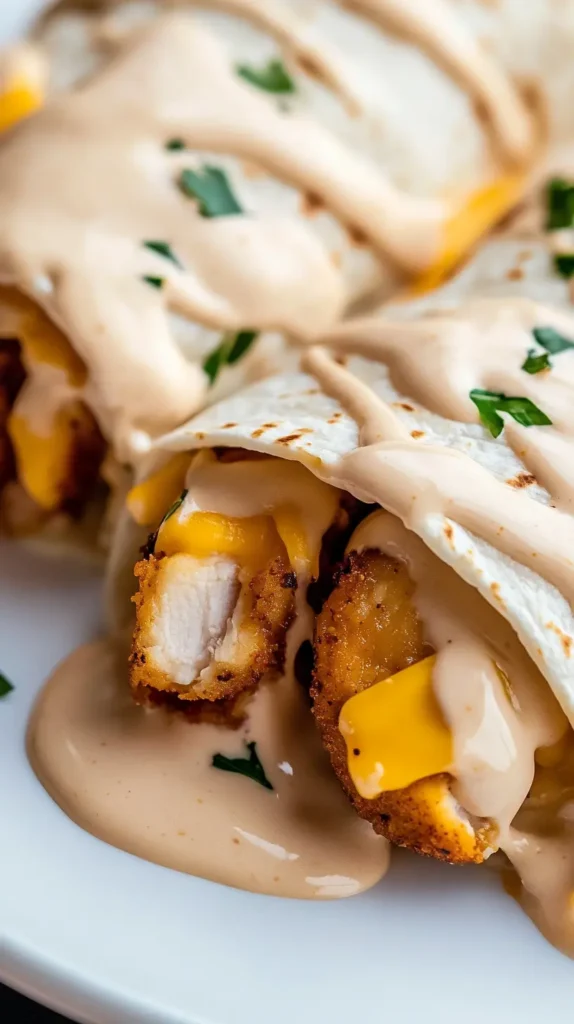
The finished wraps should have a satisfying crunch when you bite into them, giving way to the gooey, garlic-infused chicken filling inside. Slice diagonally to showcase the colorful interior and serve immediately for the ultimate comfort food experience.
Expert Tips/Variations for Garlic Chicken Wraps
After making these Garlic Chicken Wraps countless times in my kitchen, I’ve discovered several tricks and modifications that can elevate your experience. Here are my favorite insights to help you customize this recipe to your preferences and pantry availability.